Create your first board
Start a workspace and turn a simple prompt into your first generation.
1. Create a board
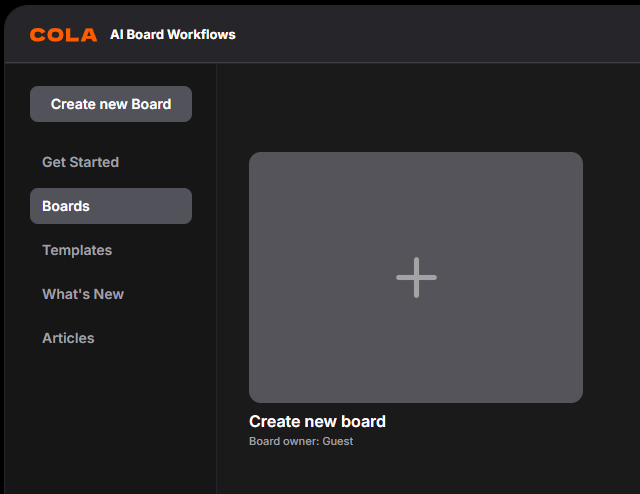
Go to /cola/app and click Create board.
2. Sign in to your account
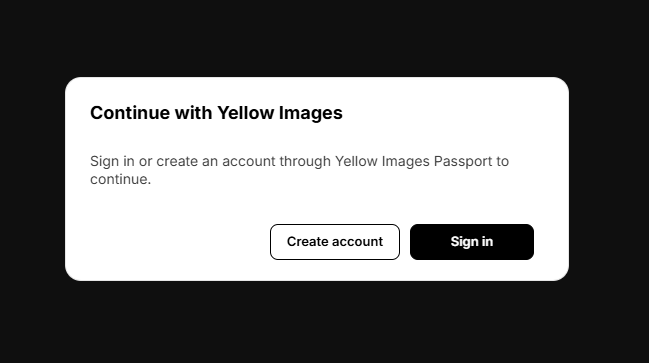
Sign in or create an account to continue.
3. Name your new board
Your new board will open automatically. Double-click its name and enter a new title.

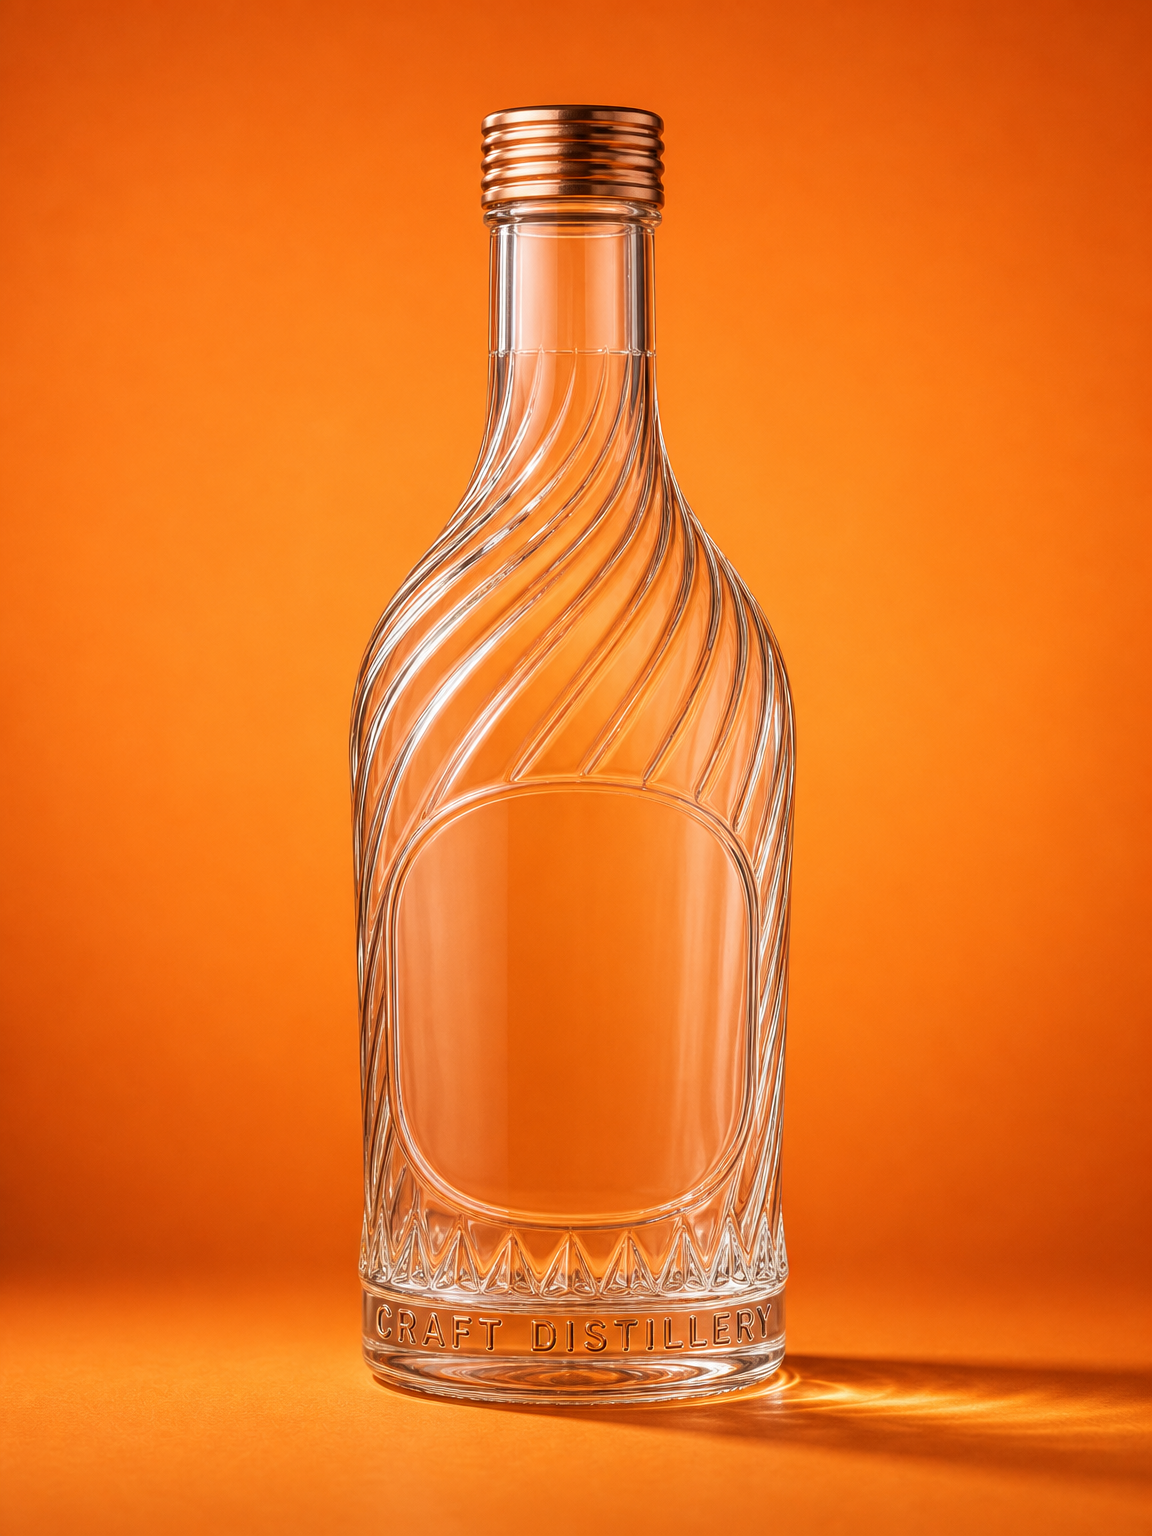
4. Add a reference image
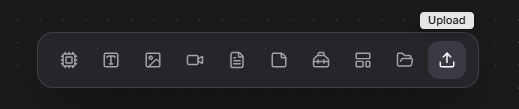
Click Upload in the bottom dock and select an image from your computer.
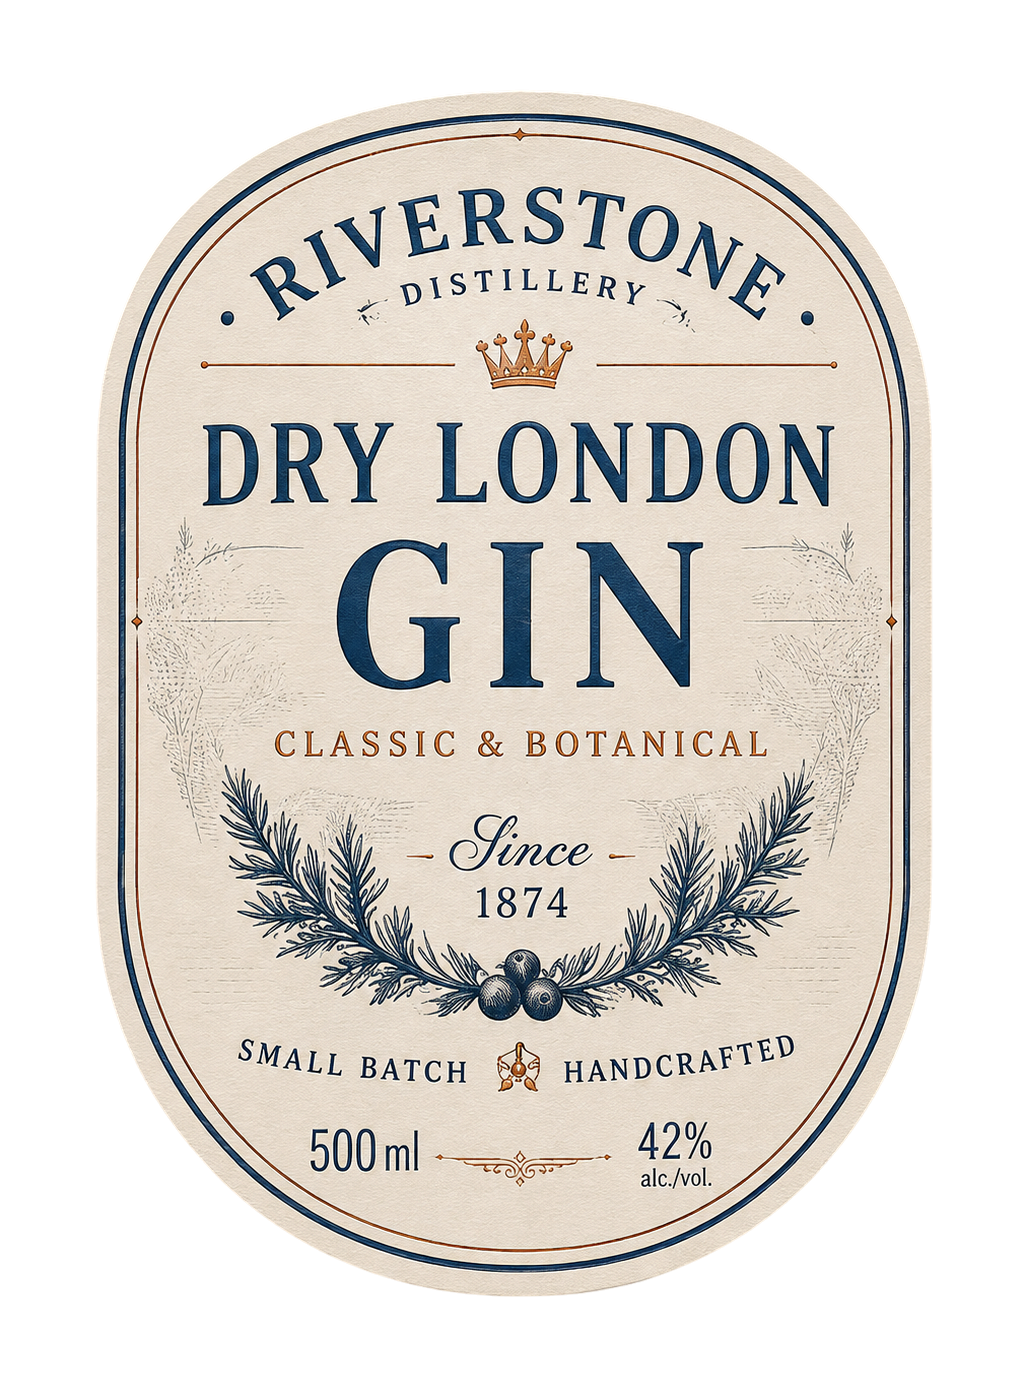
The image will appear on the canvas as an Image node.
5. Add your prompt
Click Text in the bottom dock to add a Text node.
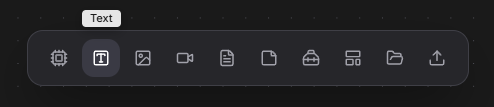
Click inside the new node and type what you want to generate.
Use the bottle image as the base and apply the provided label design to the front of the bottle. Preserve the label’s original text, logo, colors, proportions, and layout exactly. Wrap the label naturally around the bottle’s curved surface, matching its perspective, lighting, reflections, shadows, and material. Keep the bottle, background, composition, and camera angle unchanged. The final result should look like a realistic professionally photographed labeled bottle.
6. Add a processing node
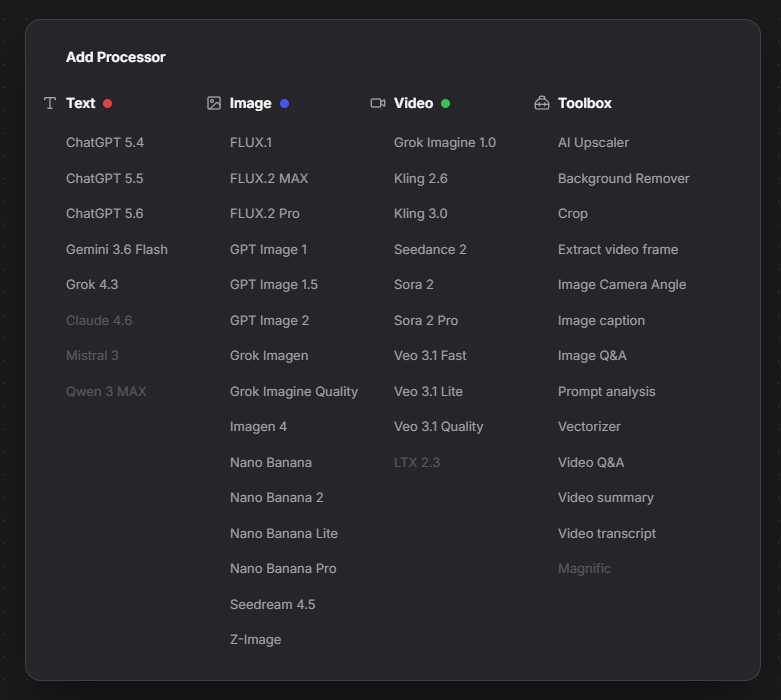
Right-click an empty area of the canvas and choose the model you want to use from the menu that appears.
7. Connect the nodes and run the workflow
Connect the reference image and prompt to the matching inputs on the Processor node.
Use the bottle image as the base and apply the provided label design to the front of the bottle. Preserve the label’s original text, logo, colors, proportions, and layout exactly. Wrap the label naturally around the bottle’s curved surface, matching its perspective, lighting, reflections, shadows, and material. Keep the bottle, background, composition, and camera angle unchanged. The final result should look like a realistic professionally photographed labeled bottle.
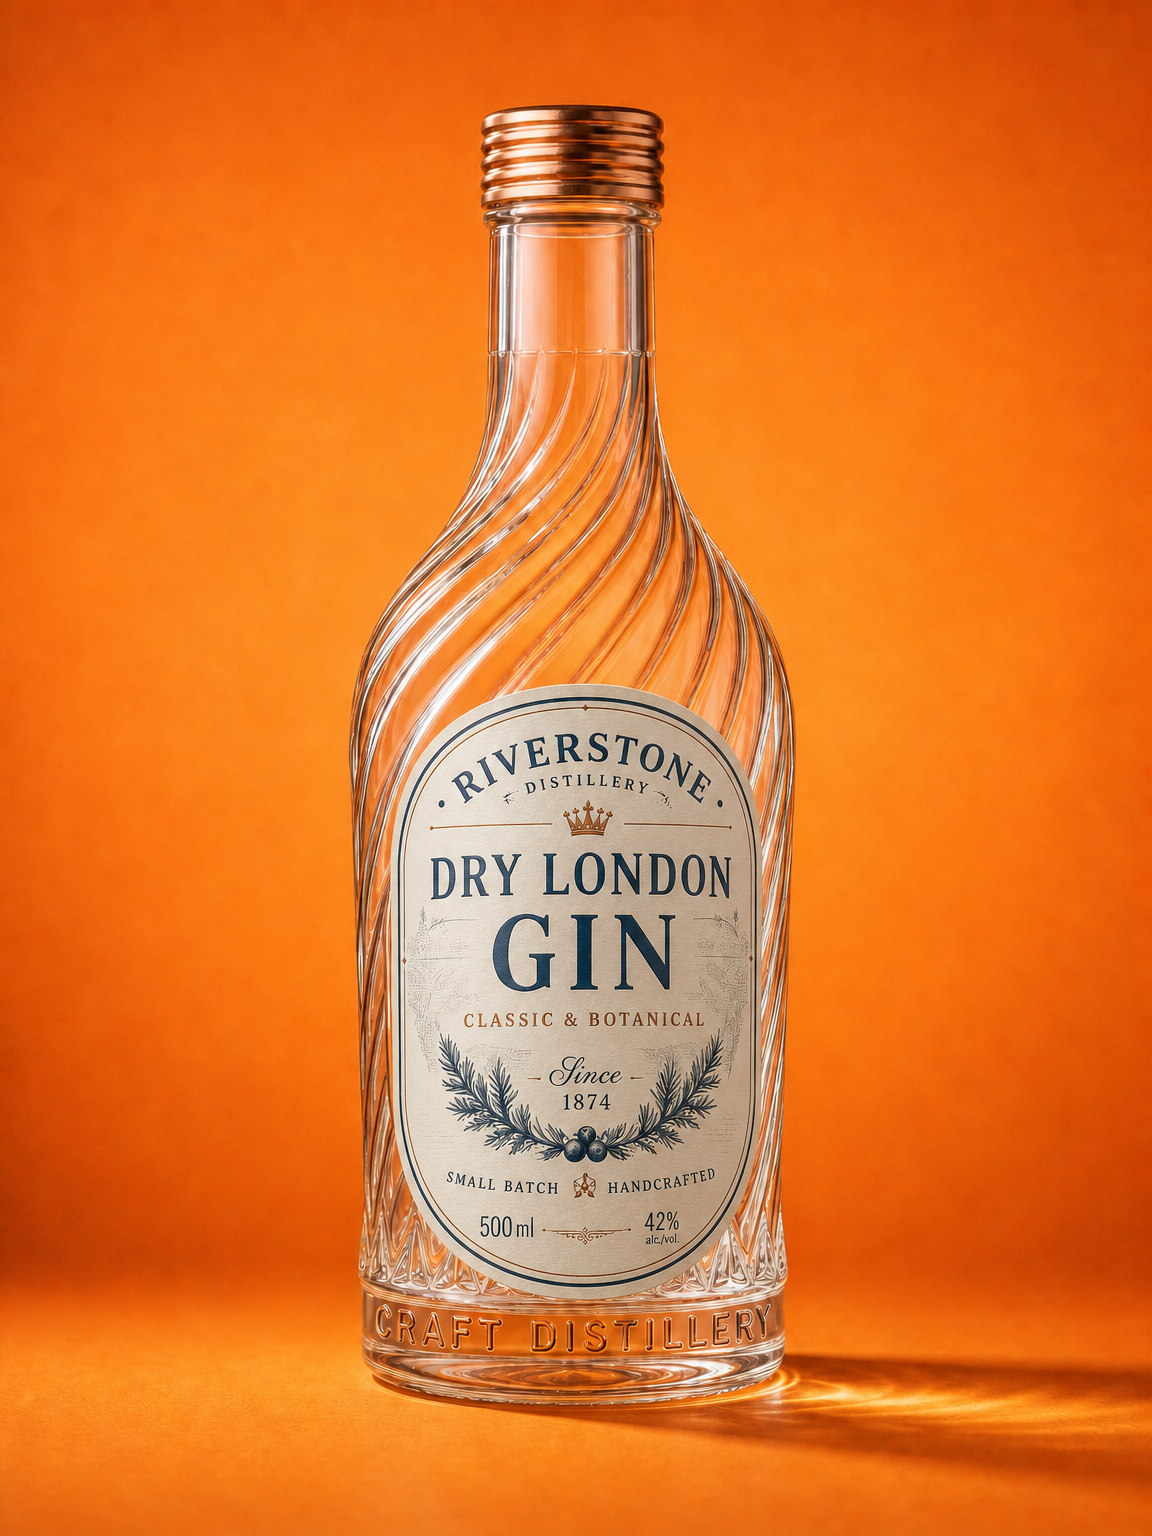
Click Run on the Processor node and wait for the generated result to appear.
8. Return to Boards
Click the Back button in the top bar to return to Boards.

9. View your boards
Here you can find and open all the boards you have created.
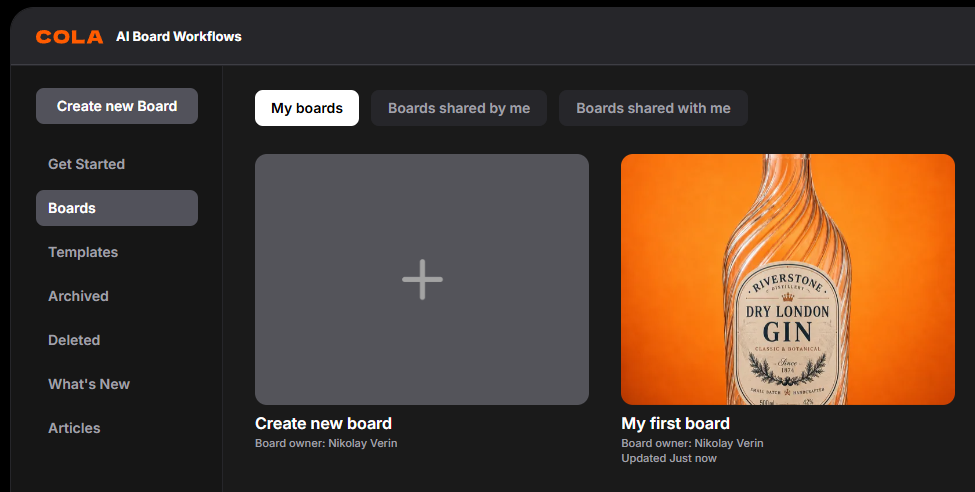
Your first board is ready
You’ve created, named, and run your first workflow. Open the board whenever you want to continue experimenting.