Learn the basics
Navigate the canvas, connect nodes, and build a clear creative workflow.
1. Explore the board
The canvas is your main workspace. Use the Top bar for board actions, the toolbar on the left for canvas tools, and the dock at the bottom to add content. Pages are in the bottom-left corner, while Runs, the minimap, and zoom controls are in the bottom-right corner.
Top bar
Canvas
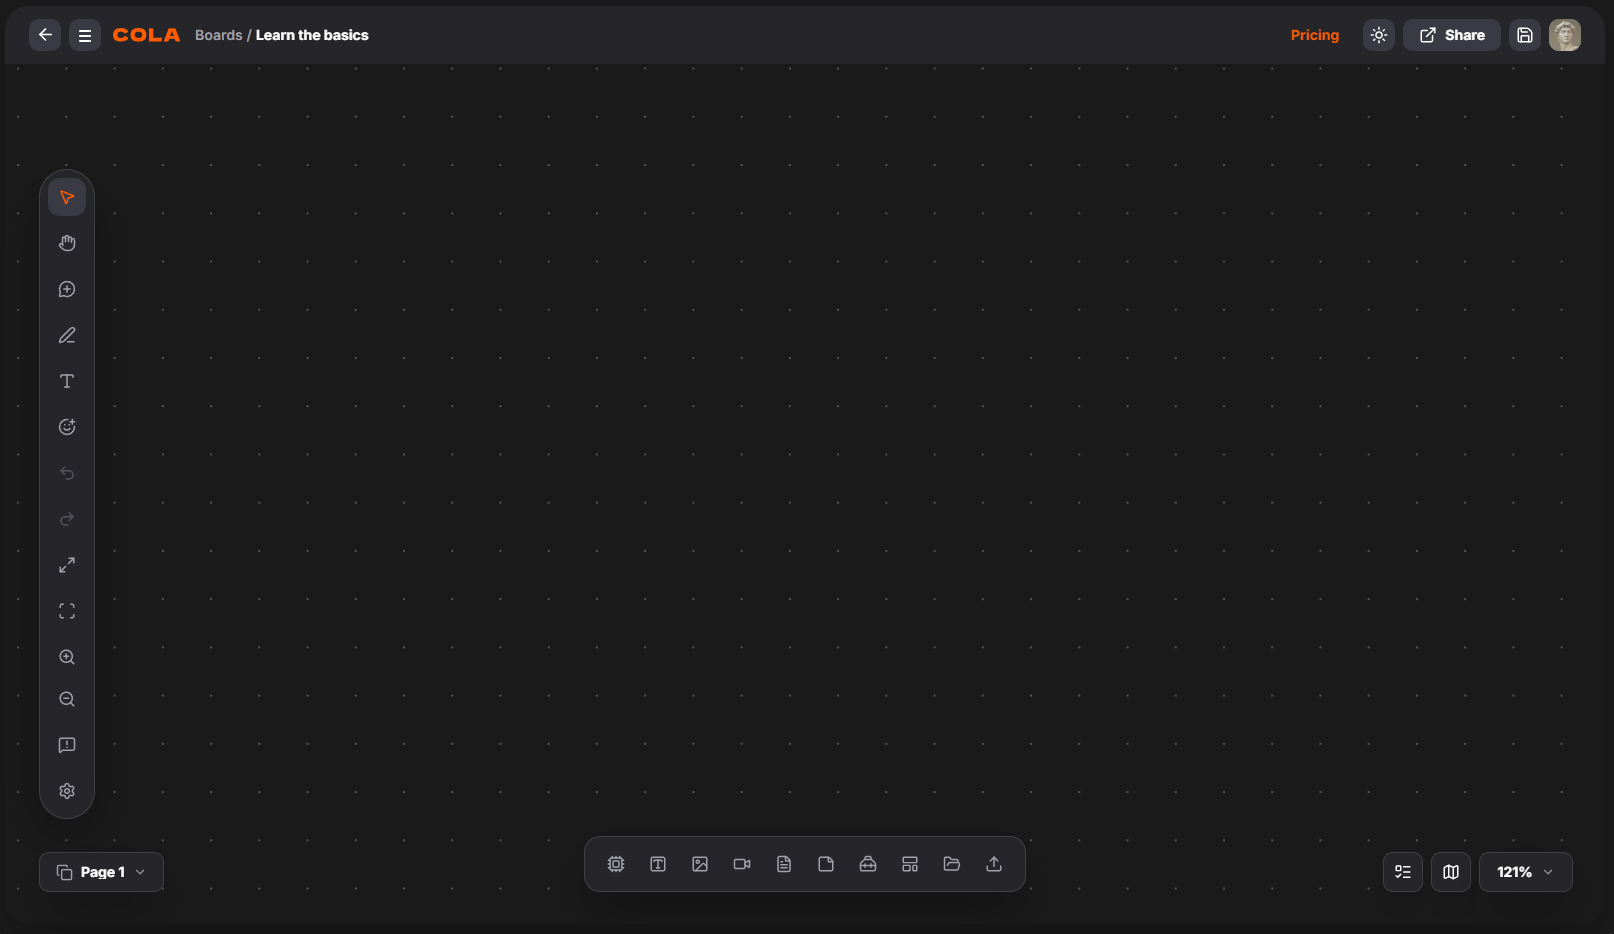
Toolbar
Runs, minimap & zoom
Dock
Pages
2. Move around the canvas
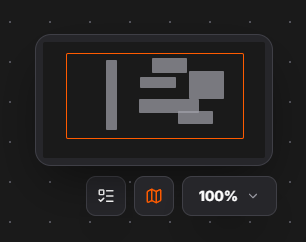
Hold Space and drag to move across the board. Use the controls in the bottom-right corner to adjust the zoom or open the minimap when working with a larger board.
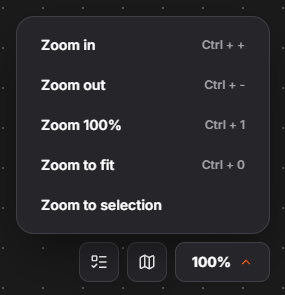
Zoom
Minimap
3. Add elements
Use the bottom dock to add AI model nodes, choose a template, or upload media. You can also drag and drop files directly onto the canvas.
Sticker
Video node
Text node
Templates
Upload
Text block
Toolbox
Board assets
Image node
Model nodes

4. Explore the left toolbar
The left toolbar gives you quick access to navigation, selection, comments, drawing and annotation tools, board history, view controls, and Settings.

Cursor mode
Pan mode
Comments
Draw
Text note
Emoji
Undo
Redo
100% view
Show all
Zoom in
Zoom out
Toast history
Settings
5. Select and organize elements
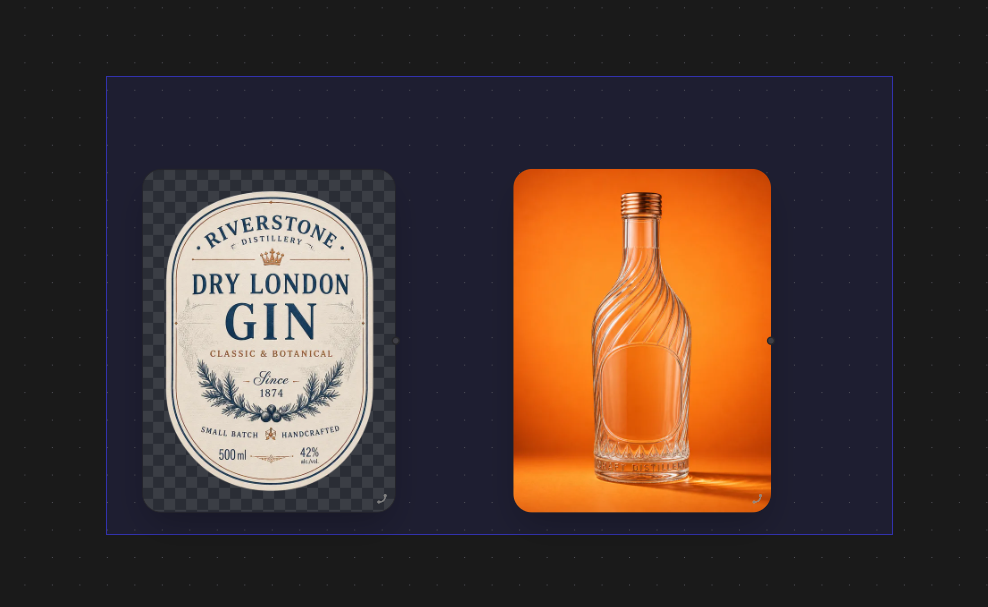
Click an element to select it. Hold Shift to add more elements, or drag a selection box around them. Hold Ctrl (Command on Mac) and click an element to remove it from the selection.
6. Work with node controls
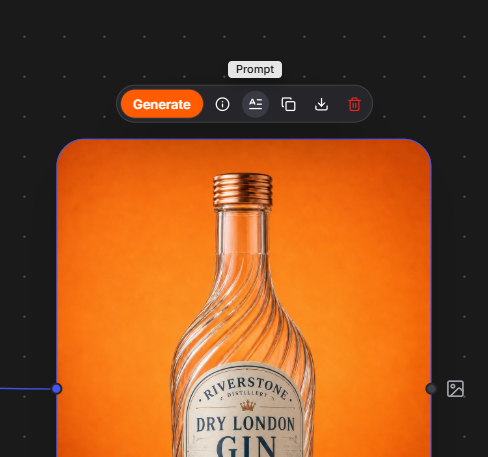
Select a node to open its action toolbar. Available actions may include Generate, Info, Prompt, Duplicate, Download and Delete.
Action toolbar
7. Connect nodes
Drag from an output socket to a compatible input socket.
Use the bottle image as the base and apply the provided label design to the front of the bottle. Preserve the label’s original text, logo, colors, proportions, and layout exactly. Wrap the label naturally around the bottle’s curved surface, matching its perspective, lighting, reflections, shadows, and material. Keep the bottle, background, composition, and camera angle unchanged. The final result should look like a realistic professionally photographed labeled bottle.
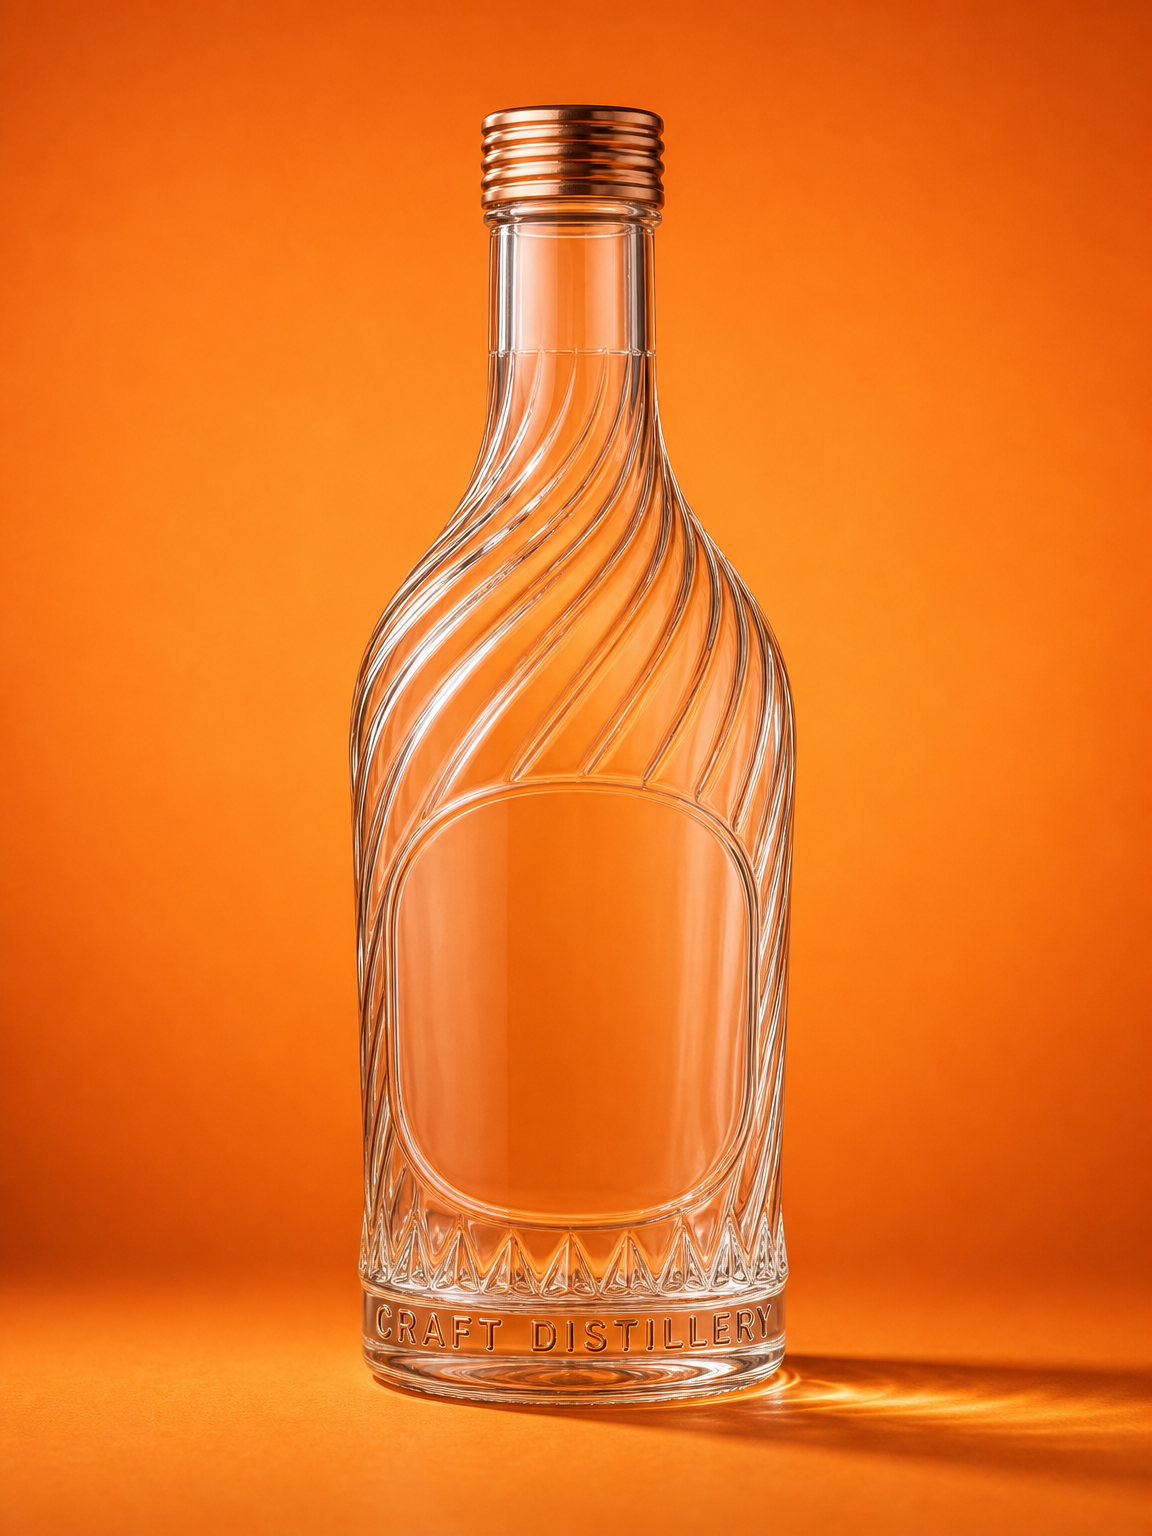
Click and drag from an output socket to a text input socket.
Select a wire and press Delete, or hover over it and click cross.

Click and drag from an output socket to an image input socket.
8. Organize work with pages
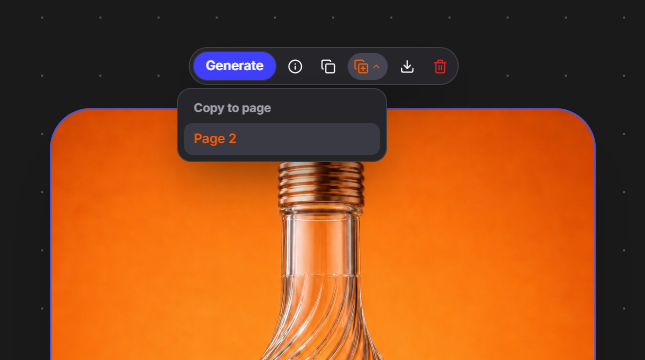
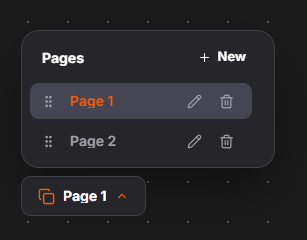
Use pages to keep related workflows inside the same board. Open the Pages menu in the bottom-left corner to create, rename, reorder, and switch between pages. To reuse content on another page, select the nodes or workflow, choose Copy to page from the action toolbar, and select the destination page.
Add new pages
Deplicate nodes to selected page
You’re ready to create
You now know your way around COLA boards. Start with an idea, build your workflow, and create something amazing.